
Teeth Whitening Methods Comparison Guide: What Works Best?
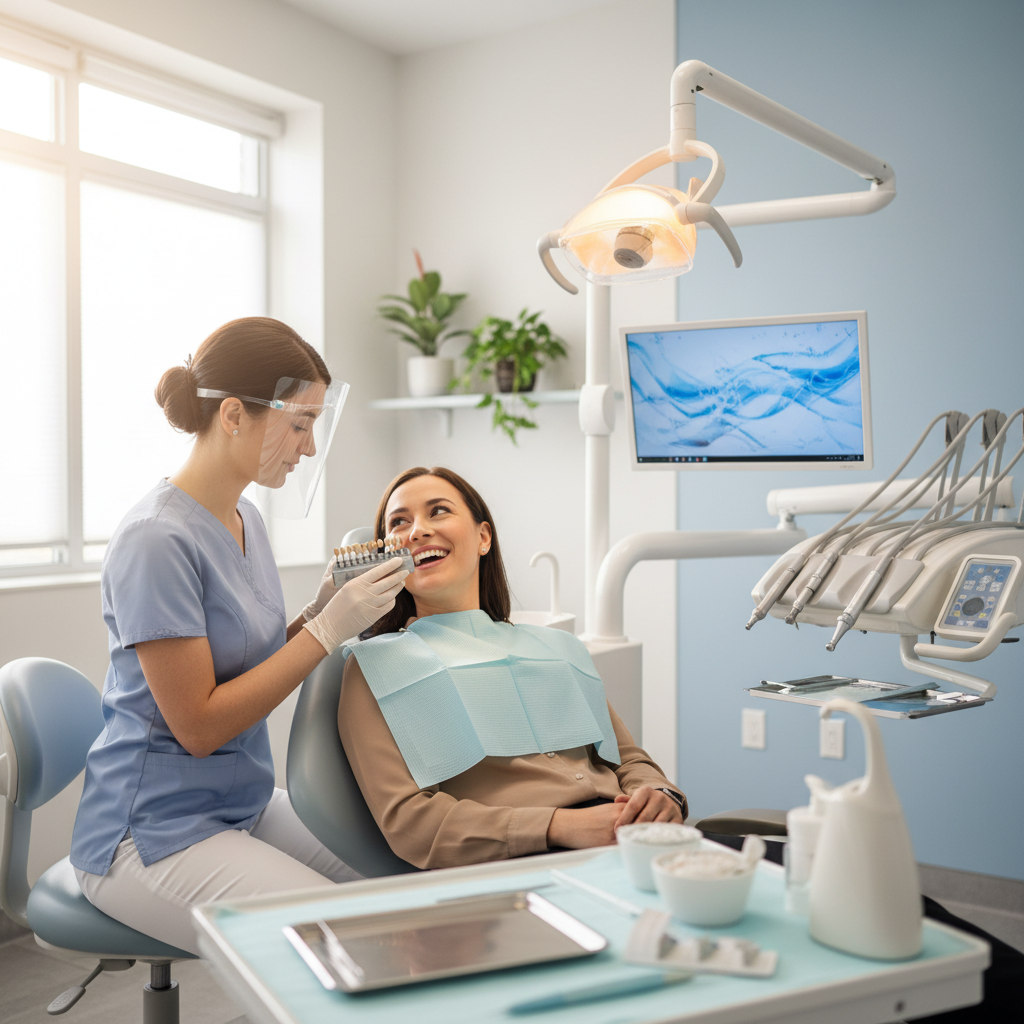
You want a brighter smile—but which option actually works? This teeth whitening methods comparison guide lays out the choices in plain English, so you can match the right method to your teeth, timeline, and sensitivity. If you’re in North York, our team at Humber Summit Family Dental uses this same framework every day to help patients choose safely and confidently.
- See in-office, custom trays, strips, pens, LED devices, and more—side by side
- Learn when whitening works—and when veneers or bonding are smarter
- Follow a step-by-step prep and sensitivity plan that fits real life
- Get local tips tailored to North York routines and seasons
- At a Glance
- What Is a Teeth Whitening Methods Comparison Guide?
- Why Whitening Matters
- How Whitening Works
- Types of Whitening (Pros and Cons)
- Comparison Table
- Best Practices & Safety
- Tools & Resources
- Preparation & Aftercare Steps
- Myths vs. Facts
- Case Studies from North York
- FAQ
- Key Takeaways
Quick Answer
For most adults, professionally supervised whitening gives the most even, predictable results with fewer sensitivity issues. At our North York clinic (ON, #107), we begin with an exam and cleaning, then guide you toward in-office or custom take-home trays—using this teeth whitening methods comparison guide to tailor the plan to your enamel and goals.
Local Tips
- Tip 1: If you grab coffee along Finch Ave West or tea near Weston Road, use a straw and rinse with water after sipping—especially in the first 48 hours post-whitening.
- Tip 2: Cold winter air in North York can heighten sensitivity. Use a desensitizing toothpaste 1–2 weeks before and after whitening and avoid ice-cold drinks for a few days.
- Tip 3: Wearing Invisalign or a retainer? Bring your trays to your visit. We’ll show you how to safely pair aligner wear with dentist-approved whitening gel.
IMPORTANT: Always complete a dental exam first—whitening over cavities or gum inflammation can worsen sensitivity and uneven results.
At a Glance
- Best for speed: In-office professional whitening
- Best for control: Dentist-made custom trays at home
- Best for quick touch-ups: Whitening pens or strips
- Not ideal for deep stains: Toothpaste, rinses, or DIY abrasives
- When whitening won’t help: Dark internal stains, patchy fluorosis, or mismatched fillings—veneers or bonding may be better
Curious which route is right for you right now? Start with our North York teeth whitening overview to see how we personalize timing and gel strength.
What Is a Teeth Whitening Methods Comparison Guide?
It’s a clear, side-by-side look at every option—so you don’t waste time or risk sensitivity guessing. We use this guide at Humber Summit Family Dental to help patients choose confidently in one visit.
- Defines each method: In-office whitening, dentist-made trays, OTC strips, pens, rinses, toothpaste, LED/UV gadgets, internal bleaching, microabrasion, veneers, and bonding
- Explains fit: Which choices match your starting shade, enamel thickness, and schedule
- Flags limits: Whitening won’t change the color of fillings, crowns, or veneers
- Outlines next steps: Exam, cleaning, whitening, and a maintenance plan you’ll actually follow
Why Teeth Whitening Matters
Whiter teeth can lift confidence, but the real win is pairing cosmetic change with healthy habits and proper sequencing with other care.
- Confidence & presence: A brighter smile helps you feel camera-ready at work, on Zoom, or at events.
- Motivation to maintain: Patients who love their shade typically keep up with hygiene and cleanings.
- Whole-mouth check: Whitening under dental supervision includes an exam that can catch decay, chips, or gum issues early.
- Planning cosmetic work: If you want veneers or bonding, whiten first so restorations can be matched to your new shade.
Need a cleaning before you brighten? Predictability improves when plaque and tartar are out of the way. See how our teeth cleanings prep you for even results.
How Teeth Whitening Works (The Short Science)
Most effective whitening uses peroxide-based gels (hydrogen or carbamide) that break down stain molecules (chromogens) in enamel and dentin. Fit, gel strength, and contact time determine speed and comfort.
- Extrinsic vs. intrinsic stains: Surface stains from coffee/tea vs. deeper discoloration inside the tooth from aging or medication.
- Peroxide action: Oxygen radicals alter how stains reflect light, so teeth appear whiter.
- Custom fit matters: Snug trays focus gel where you need it and protect gums.
- Sensitivity is manageable: Fluoride varnish, potassium nitrate, and pacing limit zingers.
Types of Whitening (Pros, Cons, and Best Fit)
1) In-Office Professional Whitening
- What it is: High-strength gel applied and monitored by a dentist for a rapid shade change.
- Best for: Tight timelines (events), uneven past DIY results, or heavy staining.
- Pros: Fast, predictable, gum protection, targeted desensitizing.
- Consider: A short series of visits or paired take-home trays for longevity.
2) Custom Dentist-Made Take-Home Trays
- What it is: Clear trays molded to your teeth plus prescription-strength gel used at home.
- Best for: Controlled, gradual whitening and people with sensitive enamel.
- Pros: Even coverage, low gel spill, flexible schedule, simple future touch-ups.
- Consider: Requires a recent cleaning and cavity check before starting.
3) Over-the-Counter Whitening Strips
- What it is: Preloaded adhesive strips worn daily for set periods.
- Pros: Widely available, simple routine, modest brightening.
- Consider: One-size design can miss curves or rotate, leading to patchy areas.
4) Whitening Pens and Brush-On Gels
- What it is: Low-dose gel painted onto specific spots for quick touch-ups.
- Pros: Handy for travel; targets a single tooth or edge.
- Consider: Short contact time limits depth; good for maintenance, not major changes.
5) LED/UV-Assisted Home Devices
- What it is: Light units paired with at-home gels to shorten sessions.
- Pros: Convenience at home; some users like the routine.
- Consider: Light is not the main driver—gel chemistry and tray fit matter most.
6) Whitening Toothpaste and Rinses
- What it is: Mild abrasives or chemical agents for surface stain removal.
- Pros: Useful for maintaining results after professional whitening.
- Consider: Limited whitening power—think stain control, not shade jumps.
7) “Natural” Abrasives (Charcoal, Baking Soda, etc.)
- What it is: Coarse powders or pastes promoted online.
- Pros: Perceived as simple; may lift some surface stain.
- Consider: Abrasion can thin enamel and increase sensitivity; we don’t recommend routine use.
8) Internal (Walking) Bleach for Single Dark Teeth
- What it is: For a previously root-canaled tooth darkened from the inside; gel is sealed within the tooth and refreshed over visits.
- Pros: Targets the one tooth without over-whitening its neighbors.
- Consider: Only for non-vital teeth and strictly dentist-managed.
9) Microabrasion for Superficial Spots
- What it is: Polishing with a controlled abrasive/acid slurry to remove superficial enamel discoloration.
- Pros: Great for shallow white/brown marks and smooths enamel.
- Consider: Often combined with whitening for the best blend.
10) Whitening with Invisalign or Retainers
- What it is: Using safe, dentist-guided gel with clear aligners or retainers as trays.
- Pros: Efficient two-in-one; excellent fit can improve evenness.
- Consider: Requires professional guidance on gel strength and timing.
11) Veneers When Whitening Isn’t Enough
- What it is: Custom porcelain facings that permanently set a new shade and shape.
- Pros: Transforms resistant discoloration, chips, and shape issues.
- Consider: This is a cosmetic restoration, not a gel; requires a personalized consultation.
12) Cosmetic Bonding to Blend Isolated Spots
- What it is: Tooth-colored resin to mask or add to small areas for harmony.
- Pros: Conservative and quick when a single area stands out.
- Consider: Needs polishing and occasional refresh.
13) Professional Desensitizing Protocols
- What it is: Fluoride varnish, potassium nitrate, or ACP products used before/after whitening.
- Pros: Lets sensitive patients whiten comfortably.
- Consider: Works as part of a plan, not a standalone whitener.
14) Pre-Whitening Dental Cleaning
- What it is: A professional cleaning removes plaque/tartar so gel contacts enamel evenly.
- Pros: More even shades with fewer patchy areas.
- Consider: Essential step for predictable results.
Comparison Table: Teeth Whitening Methods Side by Side
| Method | Speed | Longevity | Best For | Sensitivity Risk | Supervision |
|---|---|---|---|---|---|
| In-office whitening | Fastest | High with maintenance | Events, uneven DIY results | Managed | Dentist |
| Custom trays (home) | Days–weeks | High with refills | Controlled, sensitive enamel | Low–moderate | Dentist |
| OTC strips | Weeks | Moderate | Surface stain | Moderate | None |
| Pens/brush-on | Weeks | Low | Touch-ups | Low–moderate | None |
| Toothpaste/rinses | Ongoing | Low | Maintenance | Low | None |
| Internal bleach | Visits | High | One dark tooth | Managed | Dentist |
| Veneers/bonding | Planned | Very high | Resistant discoloration | N/A | Dentist |
Best Practices for Safe, Predictable Whitening
- Start with an exam: Fix cavities, chips, or gum inflammation first. Whitening over problems increases sensitivity and patchiness.
- Get a cleaning first: Plaque and tartar block gel contact. A fresh cleaning improves evenness and speed.
- Match method to stain: Extrinsic stain responds quickly; intrinsic stain often needs a dentist-guided plan.
- Desensitize proactively: Use potassium nitrate toothpaste 1–2 weeks before and after; ask about in-office fluoride varnish.
- Protect restorations: Whitening won’t change the color of fillings, crowns, or veneers. Plan replacement after whitening if needed.
- Sequence cosmetic care: Whiten first, then place veneers/bonding so we can match your final shade.
- Mind the first 48 hours: Avoid dark foods/drinks. If you must, sip through a straw and rinse with water afterward.
Soft CTA: Unsure where to start? Book a whitening assessment at our North York office. We’ll confirm enamel health, set a target shade, and choose in-office or custom trays for your routine. Saturday appointments available.
If sensitivity has sidelined your past attempts, see how our tooth sensitivity strategies keep whitening comfortable.
Tools and Resources We Use (and Why)
- Custom-fitted trays: Even gel contact and less spill protect gums and improve consistency.
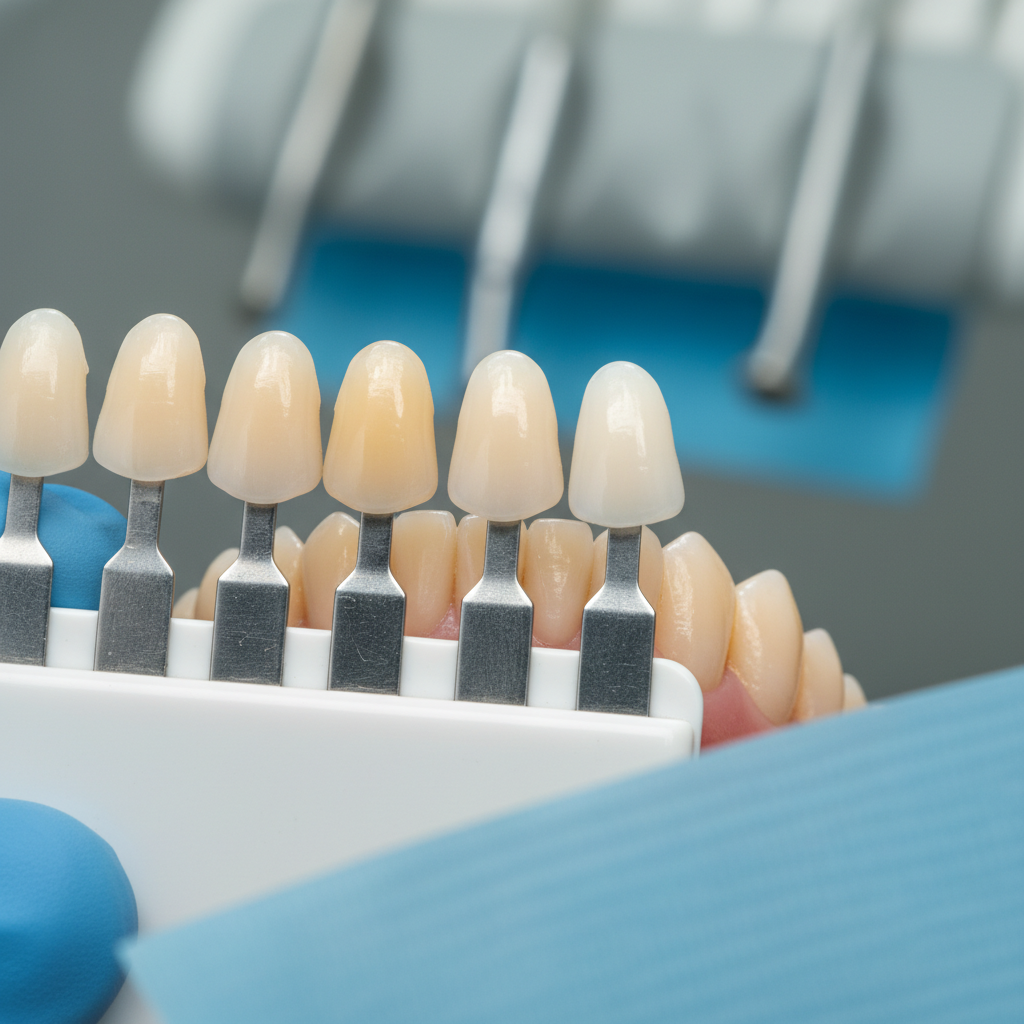
- Shade guide tracking: Baseline and follow-up shades keep expectations realistic and progress measurable.
- Desensitizing aids: Fluoride varnish, potassium nitrate, or ACP products before/after sessions for comfort.
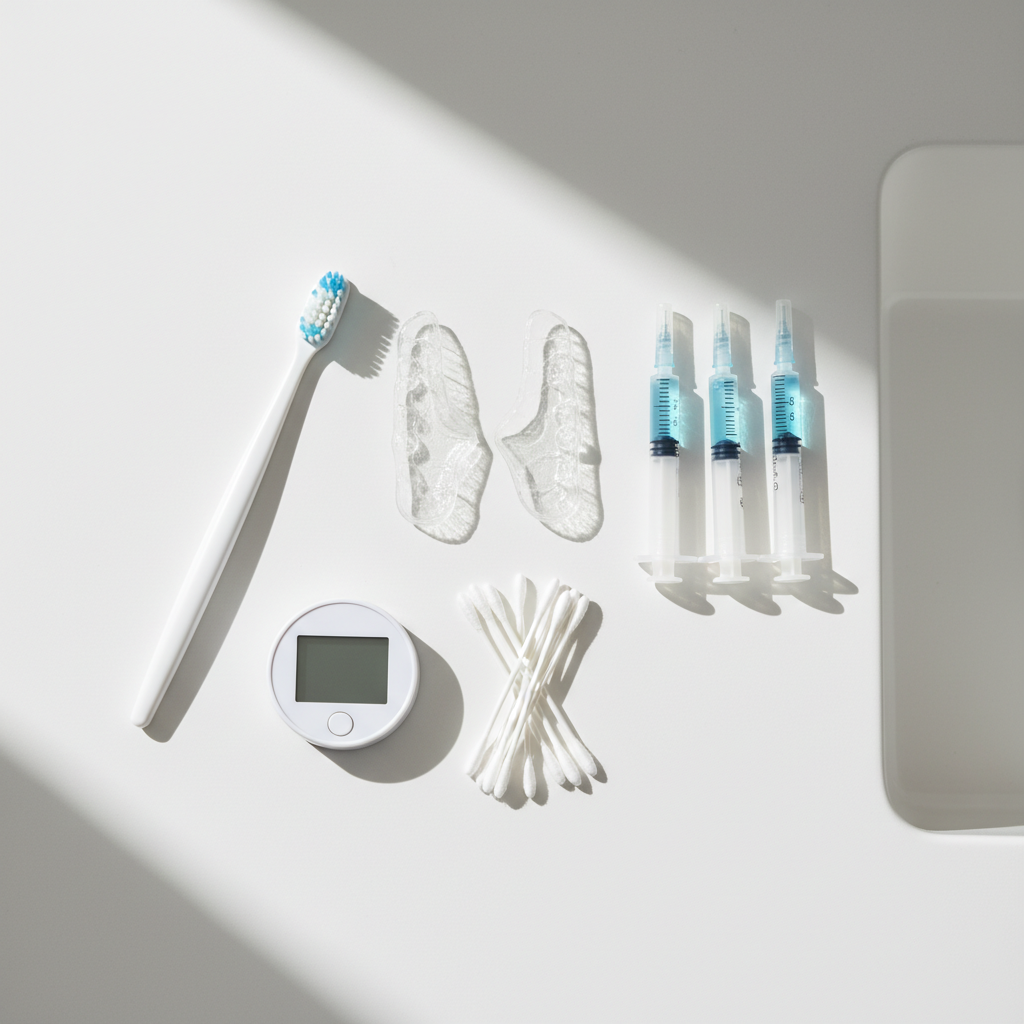
- Maintenance kit: Touch-up syringes and coaching on stain-smart habits to extend your result.
- Clinical oversight: We adjust gel strength, wear time, and frequency to your enamel and goals.
Preparation & Aftercare: Step-by-Step
Pre-Whitening Checklist
- Complete a dental exam to rule out decay, cracks, or gum issues.
- Schedule a professional cleaning so gel contacts enamel evenly.
- Use a desensitizing toothpaste daily for 1–2 weeks.
- Photograph your smile in consistent lighting; note your baseline shade.
- Set realistic goals: 1–2 shade changes may be significant on camera.
During Whitening
- Follow the prescribed wear time; more isn’t better for comfort or results.
- Wipe excess gel from gums to prevent irritation.
- Pause a day if you feel “zingers,” then resume with adjusted timing.
- Stay hydrated; a dry mouth can feel more sensitive.
Aftercare: Protect Your New Shade
- Avoid stain-heavy foods/drinks for 24–48 hours (coffee, tea, red wine, berries, soy sauce).
- When you return to coffee/tea, use a straw and rinse with water after.
- Keep up cleanings every 6 months for maintenance and quick touch-ups.
- Store gel in a cool place; follow replacement guidance for freshness.
Ready to see what’s possible and how fast? Visit our teeth whitening page to learn how we tailor in-office and take-home options in North York.
Common Myths vs. Real-World Facts
- Myth: LED light is the magic. Fact: Gel chemistry, tray fit, and contact time drive results; light mainly shortens chair time.
- Myth: Charcoal is safer because it’s “natural.” Fact: Abrasives can thin enamel and raise sensitivity without real shade change.
- Myth: Whitening ruins enamel. Fact: Dentist-supervised protocols respect enamel and use desensitizers to protect comfort.
- Myth: One session lasts forever. Fact: Coffee, tea, and time reintroduce stains; quick touch-ups keep you photo-ready.
- Myth: Strongest gel is always best. Fact: The best gel is the one your enamel tolerates comfortably with even contact.
Investment Considerations (No Dollar Figures)
- Method and materials: In-office vs. custom trays vs. OTC products influence speed and predictability.
- Starting shade & goals: Deeper stains or banding often need more sessions or a restoration plan.
- Pre-work: Cleanings, filling repairs, or gum care support even whitening.
- Sensitivity care: Desensitizing steps and pace adjustments keep the process comfortable.
- Maintenance: Touch-ups, diet tweaks, and hygiene habits protect your shade long-term.
Case Studies and Examples from North York
Case 1: Coffee Lover, Evening Meetings
- Challenge: Daily espresso and red wine created yellowing with patchy DIY attempts.
- Plan: In-office reset, then custom trays for two weeks with desensitizing toothpaste.
- Result: Even, natural shade improvement; patient now uses straws and rinses after dark drinks.
Case 2: Teen Post-Orthodontic Spots
- Challenge: White spot lesions after braces removal.
- Plan: Microabrasion of superficial spots, then gentle tray whitening.
- Result: Smoother, blended appearance without over-whitening surrounding enamel.
Case 3: Single Dark Tooth After Root Canal
- Challenge: One front tooth darker than the rest.
- Plan: Internal (walking) bleach over several visits; neighboring teeth protected.
- Result: Harmonized shade; maintenance plan set for the arch.
Case 4: Resistant Tetracycline Banding
- Challenge: Deep intrinsic banding from childhood medication exposure.
- Plan: Dentist-guided whitening trial, then transition to porcelain veneers for a uniform, lasting result.
- Result: Predictable, lifelike smile color and shape.
FAQ
- How long does professional whitening last?
With good home care and occasional touch-ups, many patients enjoy their shade for months to years. Coffee, tea, and smoking shorten longevity; cleanings and quick touch-ups extend it. - Will whitening make my teeth sensitive?
Some people feel temporary zing. We screen for risk, adjust gel strength, shorten wear time, and use fluoride or potassium nitrate to keep you comfortable. - Can whitening change the color of fillings or crowns?
No. Restorations don’t lighten with gel. We often whiten first, then replace visible fillings to match your new shade. - Is LED light necessary?
Light can speed sessions, but gel chemistry and tray fit drive the result. Professional guidance matters more than gadget type. - Should I whiten before or after Invisalign/veneers?
Whiten before veneers so we can match your final shade. With Invisalign or retainers, whitening can often be paired safely under a dentist’s direction.
Conclusion and Next Steps
- Professional oversight wins: It’s the safest path to even, natural-looking results.
- Method matters less than fit: Custom trays and a recent cleaning make the biggest difference.
- Have a plan: Exam, cleaning, whitening, then maintain with smart habits and touch-ups.
- Ready when you are: Book a whitening assessment in North York—Saturday appointments available.
Exploring broader smile upgrades beyond whitening? See how our cosmetic dentistry options like veneers and bonding can complement your new shade.
Key Takeaways
- In-office plus custom trays deliver the fastest, most even changes
- Desensitizing steps keep whitening comfortable
- Whitening won’t change fillings or crowns—sequence cosmetic work wisely
- Maintenance habits protect your shade for the long run
